Search This Blog

Wednesday, July 30, 2014

Another Shaker Card

Somehow I feel like I am cheating with these cards because the kit really is pretty straight forward, from the stamps to the dies and from the pattern paper to the color scheme. It just take all the guess work out of it.

Couldn't resist making  a few more.


Monday, July 28, 2014

One Card Two Challenges

For today I am showcasing a card I made which combines two challenges. The first is from Simon Says Stamp Wednesday Blog challenge which I was supposed to use embossing. I stamped my Mama Elephant around we go ride stamp in blue then used clear embossing powder to give it a nice shiny texture.

The second challenge is from the Feed Your Craft proboards. In that challenge you had the option to use a color scheme or a nice print out from an image or both. I did both. I loved this color theme but was also draw to the image so I decided to use it for the clouds.

Sunday, July 27, 2014

Quick Post for Simon Says Stamp Mon Challenge Blog

Just doing a quick post for the Monday Challenge over at Simon Says Stamp blog. Their challenge was to create something that speaks summer to me.

I am fortunate enough to live close to the beach (Santa Cruz) and summer just wouldn't be summer unless it involved at least one trip over to the beach and when I think of the beach I also recall my trips to Hawaii that speaks volumes of my idea summer vacation.

Based on those thoughts I created this card using my copics to color in the surf board, adding a touch of Magic Sand (if you remember that stuff), added a few shells and used my trusty cameo to cut the title and crab die.

Friday, July 25, 2014

Get More From Your Dies – Part 2

Wednesday I talked about using the negative space, but did you also know you can use some of your dies as stencils, and this particular set of Balloons will work nicely. If the dies themselves do not work as a stencil consider using the negative space as a stencil instead if you aren't using it to make a card.

Be sure to secure your card to your workspace

and then secure the die (or negative space stencil) to the card. I used washi tape but you can also use blue tape as well. Using Tim Holtz Inks and a dauber you can begin filling in die with some color
 
As you can see I used various colors with the different sized balloons, layering over a bit with the inks.

 
And here is the finished card

 
Here is the card that used the original diecuts themselves which I misted with some inks.
 
 
Here are all the cards using just one die or rather one die set. I hope you enjoyed the posts


Wednesday, July 23, 2014

Get More From Your Dies – Part 1


If you are one of those people who uses dies for just the diecut then you might be interested in knowing there are more ways to use them than just as a die cut.

Many times we cut the die then toss the scrap but if you are planning to use the die think about using the negative part for a card instead of just a piece of scrap which gets tossed.

To illustrate pictured here I have the Taylored Expression Balloon Dies. As you see they come in a trio and first thing I am going to do is break up these dies. If you have never thought of doing that you might want to consider it because it allows you more freedom to position the dies as well as if you only wanted one balloon cut instead of all three. 


Once you have your dies separated, you can now position them on a card (I used 4.25 x 5.5). Be sure the card is unfolded and then run it through your die cut machine
 

Now back your negative space using cardstock, textured cardstock or pattern paper. If you don’t want that bit of scrap showing on the inside of the card you can cut a single 4 x 5.25 piece of cardstock to cover it up


And here is the finished card


Be sure to comeback on Friday for Part 2

Monday, July 21, 2014

Easy Watercolor Effect

Do not know if anyone checked out Scrapyland over the weekend, and if you didn't then I am here today to show you an easy Watercolor technique. WARNING: This post is a bit long and picture heavy.

There are many ways to watercolor but am sharing this very simple technique using Tim Holtz distressed inks.


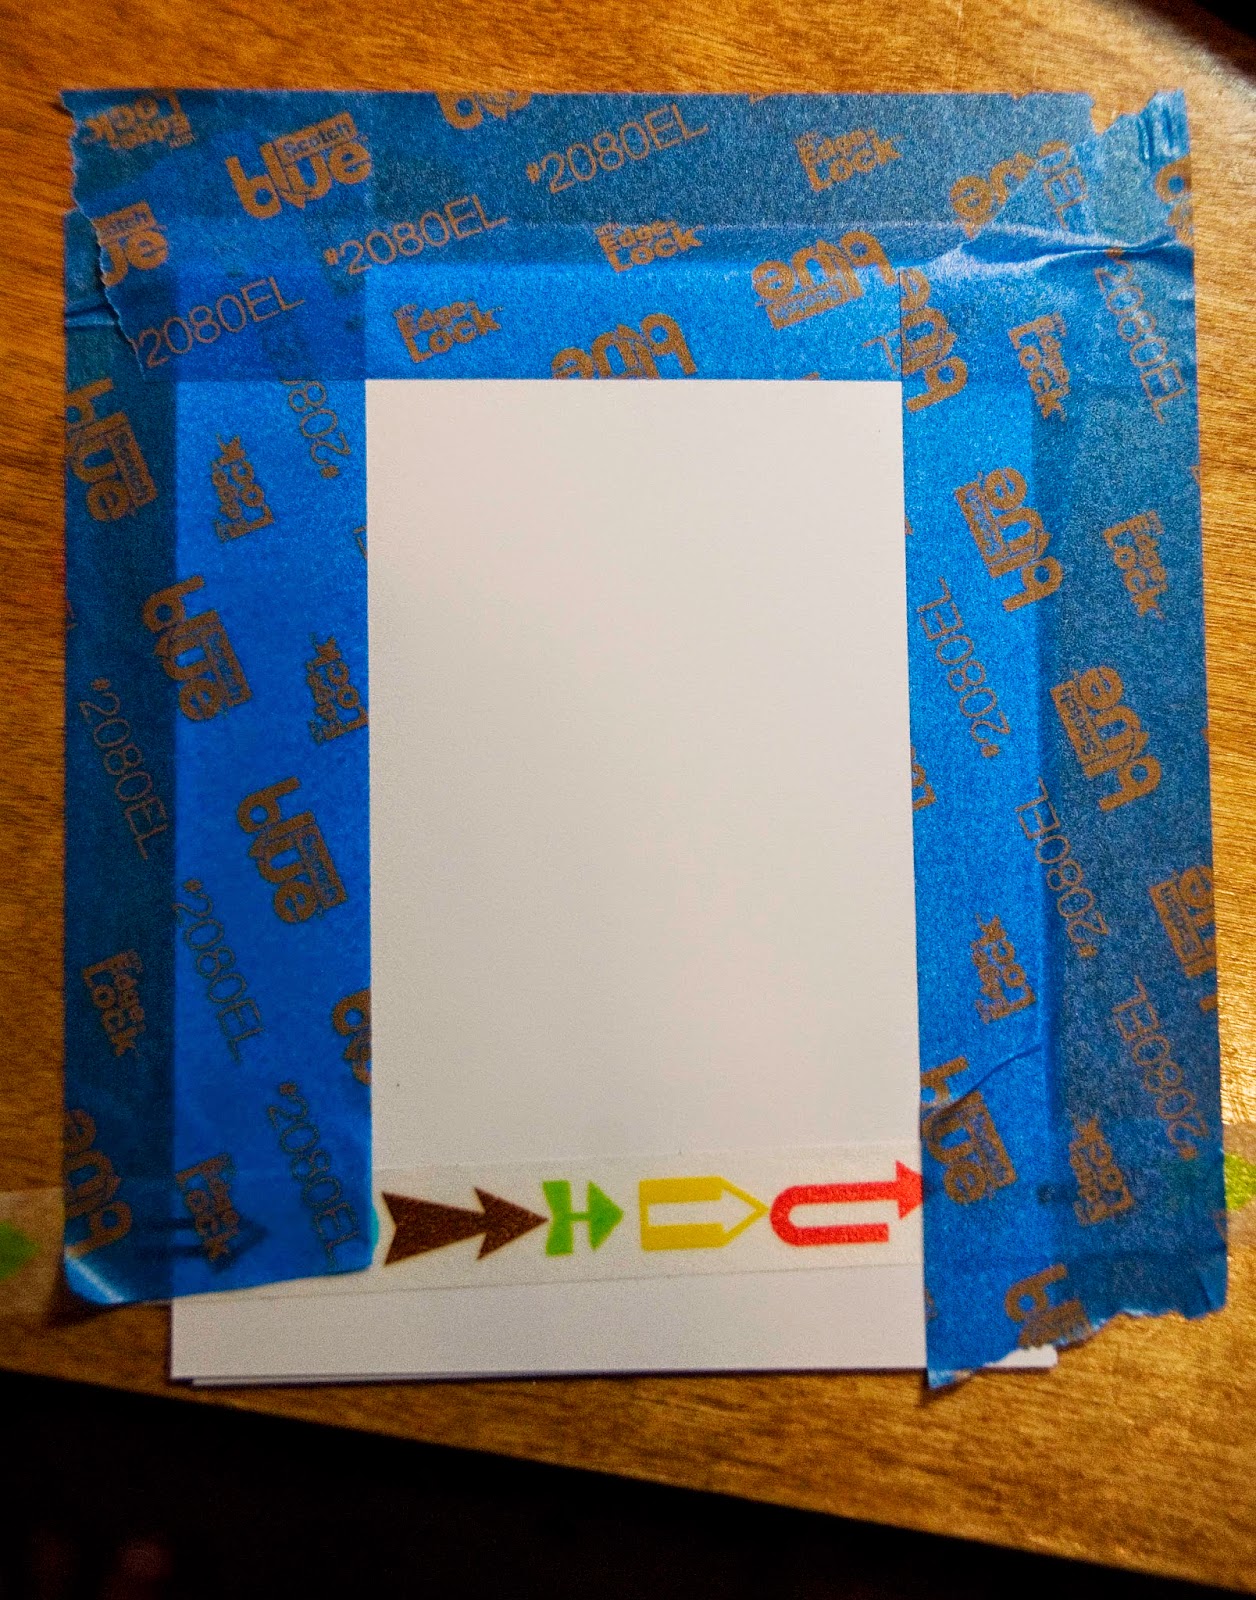
You will need one 4.25 or 5.5 sized piece of Watercolor paper or larger depending on what size card you want to make (available at most craft or art stores; 140lb is best. ), a spritzer or mister, an acrylic block (you can use smaller or larger than shown) and some distressed inks. I am using four but have also done this technique with just three.

I used a splat mat to protect my desktop and have on hand a paper towel to clean your block in between colors.
To begin, stamp one color on a small area of the acrylic block
 
then mist; two or three sprays is enough 
gently press the acrylic block onto the paper. Gently press down to spread the water/ink on the paper
you then need to gently lift the block up and away from you, leaving a pool of color. Don’t worry this is the effect you want
I swiped my block on the paper towel to clean it before using another color. If you get too much water on the card, blotting it with a paper towel is an effective way to mop it up.
Continue with the next color 
using the same technique and gently lift up and away

You can see how the two colors mix themselves together giving you a nice watercolor effect.
Stamp the last two colors in the same manner and when you are done it should look similar to this.

Begin tilting the card back and forth or up and down and side to side to gently mix the colors until you are happy with the look and then allow to dry or use a heat gun to gently dry the card
 
Once dry go ahead and flick water on the page to give it an even more distressed watercolor look (You can spritz with water or take a paintbrush dipped in water and smack it against a pen or pencil to splatter it.) Once done, it should look similar to this
 
As you can see my color ran to the bottom of the paper but that is the beauty of watercolor, letting it be a bit messy and carefree. Having a nice white border also looks great! And here is the finished card


I hope you enjoyed this post!

Friday, July 18, 2014

Where I am at

Happy Friday Everyone.

Have to tell you I was lucky enough to escape for a five day weekend and we headed up to Oregon to see my dh's parents. Thought I would share a few photos of where I am at.

First up is the view from our motel room. And that little building across the way belongs to a fabulous little Mexican restaurant which is kind of surprising since this is a very small town where traffic lights don't exist.


Then I will be floating down this river tomorrow for a leisurely 3.5 hour float.


And always love seeing the abundance of sweet peas that grow everywhere.


 So that's it for today. Hope you all have a lovely weekend!

Wednesday, July 16, 2014

Quick Card

I have two things to show you today.

First up is a dinner that my youngest (22 y/o) ds cooked for us last night. He also cooked yesterday as well and let me tell you both dishes were equally delicious. He has discovered that he loves to cook or at least cook for us. He is one year away from his BS in Astro Physics, hopefully he doesn't get through grad school and then decide he wants to be a cook but given his love for physics I think we are safe there but I won't complain about using his cooking skills to make us dinners.

So this was a Chicken Breast covered with a Grapefruit Habanero and Pancetta sauce (his creation), extremely tasty and then roasted asparagus with some parmesan.


Next up is a simple and quick card I made and honestly I really can't take much credit. This was from a kit I purchased through Papertrey Ink that is nothing but pure eye candy. There are lots of little glass tubes filled with an assortment of confetti, paper squares (some printed as shown below), stamps and lots of dies which I used to die cut the Sprinkles wording and the frame. Very fun stuff but not much from the creativity from me.


Monday, July 14, 2014

Clearly Besottled - Thankyou

I was busy this weekend making a few things for the Scrappyland Holiday Crop which is scheduled to take place this coming weekend beginning Thursday, July 17th through the 20th. I also contributed some techniques to showcase during the crop. How to get more from your dies, simple watercolor and how to use your stamp/die sets. If you are interested you can find more information on their blog

After finishing those projects, I decided I hadn't used my copics lately and felt it was time to brush the dust off them. I wanted to color some beautiful flowers from the CB stamps and choose this lovely poppy. Thinking I had never used it before I selected it for this card and then halfway through my coloring I realized this was the same stamp I used for the watercolor card last week, oh well I guess I must really like it since I was drawn to it yet again, hopefully I will get around to some of the other stamps in the package as they are all quite pretty.


Also used from Papertrey ink is the little banner tag and sentiment stamps and the background stamp from Stampin Up.

Friday, July 11, 2014

Acrylic Sign

I have today a sign I made from an acrylic page which went to an album. You remember those from clearsnap. I did at least 3 of them and they turned out super cute but I had a few pages leftover here and there so I used it to make this sign for my dd.

She had asked me to make something for her to remind her everyday to just keep going. She has two little ones and a teenager so there are days I know she could literally pull her hair out. And she like most of us trying to lose weight so this is also a reminder that a body in motion stays in motion.

I used my Silhouette to cut our some vinyl and then added just a few diecuts to give it some more interest. Hanging was a little of a challenge but quickly realized I could use the premade holes to my advantage. 

Any hoo I tried to take some decent photos of it but have to say do you know how hard it is to take a photo of a clear object while it's hanging..I ended up putting on a table which did ultimately help.


Wednesday, July 9, 2014

Shaker Card

I can't believe I actually made a Shaker card. When I first saw these all I could think about is how they have been reintroduced and couldn't shake (no pun intended) that horrible thought from all the shaker projects done years ago in various shapes. I swore off them years ago, then I started seeing them and seeing them and seeing them. The more I saw the more I like and finally broke down and put my spin on them.
 
I guess you need to use up all those sequins somewhere, right?
 

Monday, July 7, 2014

Celebrate card

I bought a wood grain background stamp from Stampin Up and my bff saw it and asked me what do I do with that and asked me to show her how I would use it. So I made this card just for her. I took me awhile because it's been sitting on my desk staring at me for almost 6 months now.
 
And see that cute little butterfly, it's from Clearly Besottled stamps and I have to tell you that I am in love with their stamp/die sets. The flags were cut using Die-Namics banner dies.


Friday, July 4, 2014

Time of your Life card

Just playing around with some new Elephant Mama stamps. I thought their Around We Go set looked like a lot of fun! 

Enjoy your 4th!


Wednesday, July 2, 2014

Kitty Layout

Sharing a page I made for Scrapyland.

I was playing in the yard the other day with Houdini (yeah she is like a little kid and wants you to chase her and play with her) and I happened to have my phone with me and remembering how terrible I am about taking photos for her PL album I snapped a few.

I really like this photo of her because it captures how pretty her eyes are and decided it warranted a full layout page.